
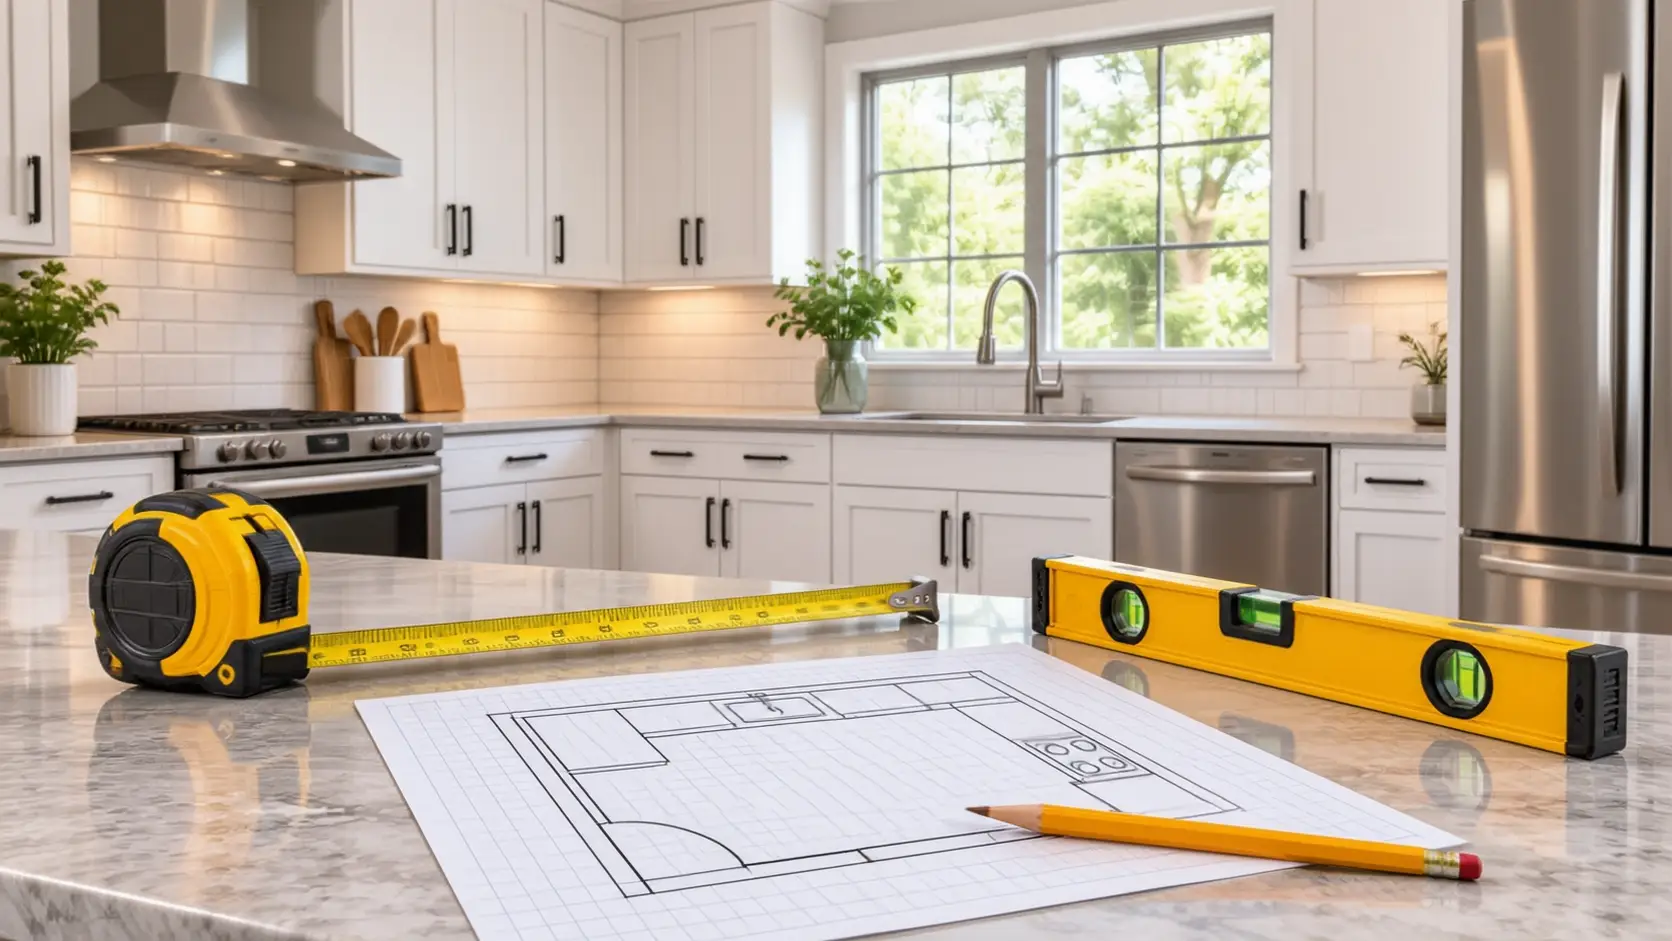
Measuring is the dullest part of a kitchen project and the one that costs the most when it goes wrong. A wall that is half an inch shorter than you wrote down can turn a “perfect” cabinet order into a pile of fillers. Knowing how to measure a kitchen for cabinets, once and properly, is the cheapest insurance you will buy.
This is a checklist you can follow with a tape measure, a pencil and graph paper. It starts with a sketch, which is a small first step, and ends with a page you can hand to a designer or supplier.
It is meant to sit beside the site’s own companion measuring walkthrough. Use whichever format you find easier, and use both if you want a cross-check.
Quick answer
Sketch the room, measure every wall in inches to the nearest ⅛ inch, take at least three ceiling heights, check corners with the 3-4-5 method, and mark every window, vent, outlet, pipe and appliance. RTA Cabinet Store advises three to four ceiling readings, and Kitchen Cabinet Kings says to measure each wall at three heights and use the smallest figure. Then check everything twice. Figures checked November 2026.
Tools and setup
| Tool | Why | Source |
|---|---|---|
| 25-foot steel tape | Accurate over long runs; a locking tape helps when working alone | Kitchen Cabinet Kings, Masterbrand (16 to 25 ft) |
| Graph paper and pencil | Pencil, not pen, so mistakes can be corrected | Kitchen Cabinet Kings |
| 2-foot level | To check walls and floors | Kitchen Cabinet Kings |
| Step stool | For ceilings and upper walls | Kitchen Cabinet Kings |
| Phone | Photograph every wall as a backup | Kitchen Cabinet Kings |
| A helper | One person measures, one records | Masterbrand |
Masterbrand, a cabinet manufacturer, says one person should consistently determine and record the measurements, which avoids two people writing things differently. Set aside an hour or so for a standard kitchen; that is a rough guess, not a sourced figure.
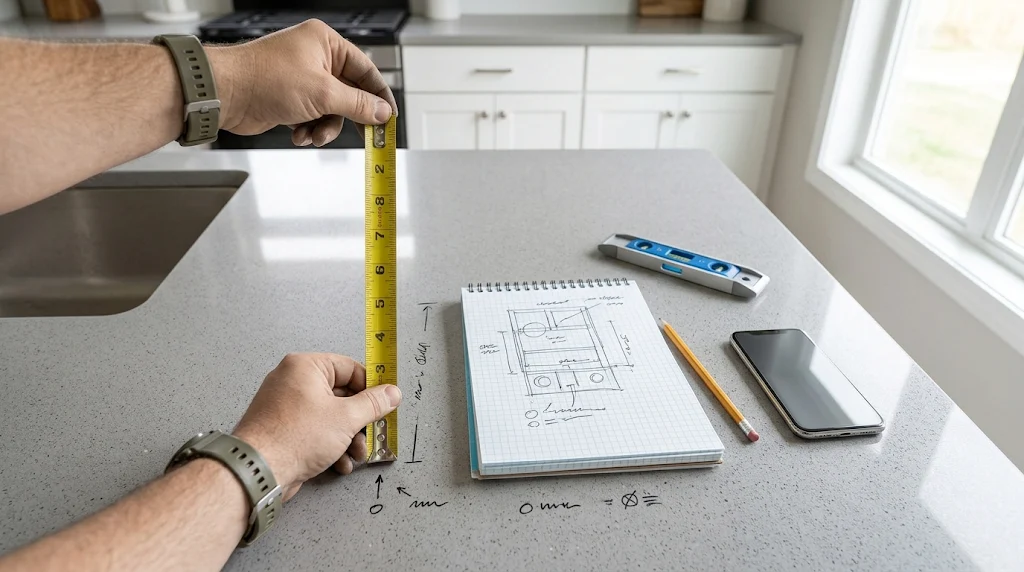
Step 1: Sketch the room
Start with the sketch, because it is the easiest step and it organizes the rest. Wolf Home Products says the first draft “doesn’t have to be to scale.” Masterbrand suggests drawing the room outline on grid paper, and using a second color for notes.
- Mark doors, windows, openings and the direction doors swing.
- Mark sinks, the range, the refrigerator and the dishwasher.
- Mark switches, outlets, vents, hood vents and gas, water and drain lines.
- Label each wall with a number or letter so your notes match the drawing.
Kitchen Cabinet Kings suggests including enough detail that someone unfamiliar with the space could understand it. If you are remodeling, RTA Cabinet Store says to get existing cabinet measurements before tearing anything out.
Step 2: Measure the walls
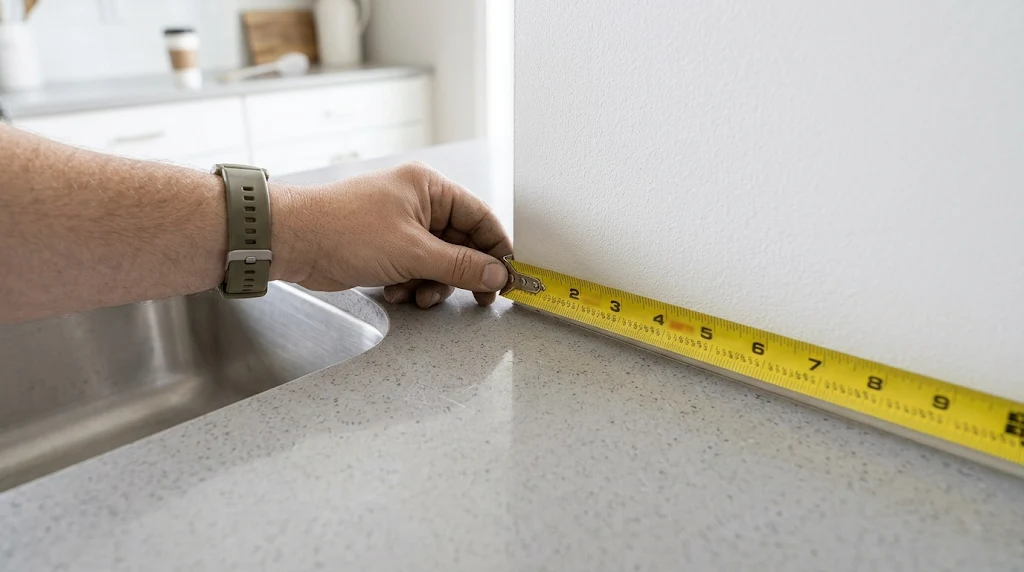
The core of how to measure a kitchen for cabinets is consistency: same direction, same units, same precision. Work around the room in one direction. RTA Cabinet Store says to measure left to right around the room so you do not miss anything, and to measure in inches to the nearest ⅛ inch. Wolf Home Products says to record everything in inches, so a four-foot wall is 48 inches.
- Full wall length first. Measure each wall corner to corner, skipping over windows and appliances, per Wolf Home Products.
- Then the openings. Measure from the corner to each window, door and opening, and between them. Riley & Higgs also says to record bumps, jogs and columns.
- Include the trim. Wolf Home Products says a window or door’s trim is part of the opening, so measure from one outer trim edge to the other. Riley & Higgs says trim can take 1 to 2 inches.
- Measure twice. Riley & Higgs says at least twice per wall, and from both directions to catch out-of-square walls.
Step 3: Measure heights
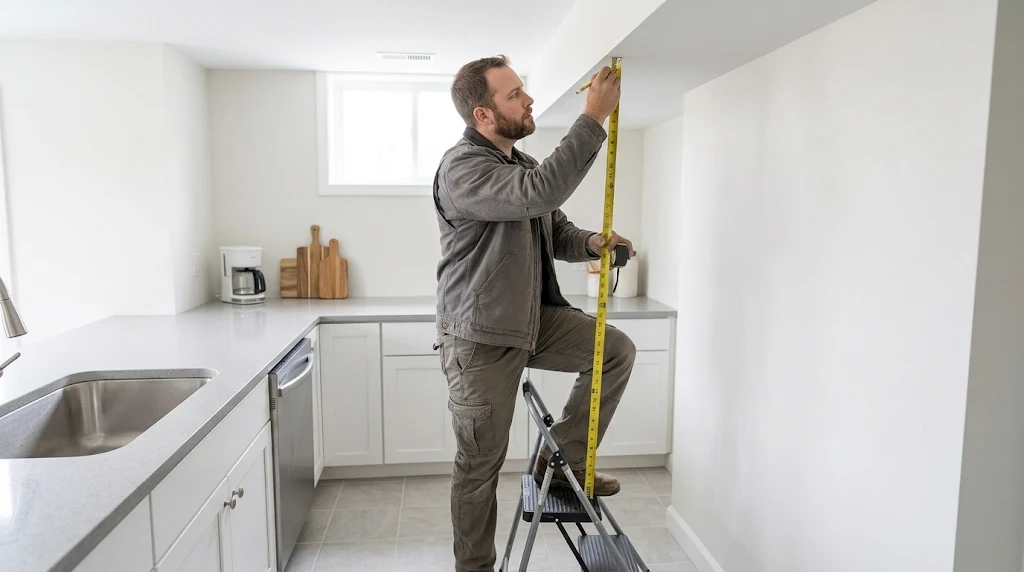
Wall cabinets depend on vertical space. Wolf Home Products lists four vertical measurements: floor to windowsill, windowsill to window top, window top to ceiling, and floor to ceiling.
- Ceiling height. Take at least three readings. Wolf Home Products and Kitchen Cabinet Kings say three, RTA Cabinet Store says three to four, and Riley & Higgs says several, because heights can vary within a room.
- Soffits. Masterbrand says to note any existing soffits, and Kitchen Cabinet Kings says to record their height and depth, since they limit upper cabinet height. On sloped ceilings, Riley & Higgs says to mark the high and low points.
- Window sill height and trim depth. Both affect cabinet and backsplash placement, per Riley & Higgs.
- Tall items. Masterbrand suggests listing existing light fixtures so they do not clash with tall pantries, refrigerators or crown molding.
For tall units, check the ceiling against standard heights. See how to plan tall pantry units against ceiling height.
Step 4: Check for square and level
Most kitchens are not perfectly square, and that is normal. You just need to know by how much, so the layout and fillers can absorb it.
| Check | How | Source |
|---|---|---|
| A corner (3-4-5) | Mark 3 ft along one wall and 4 ft along the other; the diagonal between the marks should be exactly 5 ft | Masterbrand, Kitchen Cabinet Kings |
| Larger rooms | Use 6-8-10 for the same check | RTA Cabinet Store |
| The whole room | Measure opposite corners; unequal diagonals mean out of square | Kitchen Cabinet Kings |
| Plumb walls | Measure each wall at three heights: near the floor, at 36 inches, and near the ceiling; use the smallest figure | Kitchen Cabinet Kings |
| The floor | Use a 2-foot level to find uneven spots | Kitchen Cabinet Kings |
Do not panic if it is off. Masterbrand says a good installer can work around non-square walls with shims. For what that looks like on the day, see how installers use shims and fillers.
Step 5: Mark obstacles, utilities and appliances
These are the items that decide where cabinets can and cannot go. Masterbrand lists plumbing, the range hook-up, switches, outlets, lighting, phone jacks and heating or air vents, and says to record each one’s height from the finished floor.
| Item | What to record | Source |
|---|---|---|
| Pipes, vents, radiators | Location, height, width, depth, outside edge to outside edge | Masterbrand, Wolf Home Products |
| Appliances | Width, height and depth, center point and clearances, and the model number | RTA Cabinet Store, Wolf Home Products |
| Refrigerator | Measure with handles on; handles add roughly 2 to 3 inches of depth; allow about 1 inch of ventilation per side | Kitchen Cabinet Kings |
| Dishwasher and range | Do not assume: dishwasher usually 24 in, range often 30 in, but verify | Riley & Higgs |
| Door swings | Door swings can block drawers and pantry doors; also fridge swing and dishwasher door drop | Riley & Higgs, Kitchen Cabinet Kings |
| Sink | Plumbing centerline and sink base location | Riley & Higgs |
General information, not advice
If you plan to move or change appliances, plumbing, gas or electrical, this is general information, not construction advice. Masterbrand suggests having an electrician confirm that your electrical panel can handle planned appliance changes and a professional verify plumbing or venting changes.
Step 6: Plan against standard sizes
Once your measurements are down, compare them with what cabinets typically come in. These are common ranges, and individual lines vary.
| Cabinet | Typical size | Source |
|---|---|---|
| Base cabinet height | 34.5 in without countertop; about 35 to 36 in with it | Hunker, Wayfair |
| Base cabinet depth | 24 in without countertop; 25 to 26 in with it | Hunker |
| Base cabinet width | Start at 9 or 12 in; increase in 3-inch steps | Wayfair, Hunker |
| Wall cabinet depth | Usually 12 in; up to 24 in; never deeper than base | Hunker, Wayfair |
| Wall cabinet height | 12, 15, 18, 24, 30, 36 or 42 in | Hunker |
| Space above counter | Typically about 18 in between counter and wall cabinets | Wayfair, Kitchen Cabinet Kings (NKBA minimum) |
| Tall cabinet height | 84, 90 or 96 in | Hunker |
Two more numbers help. Kitchen Cabinet Kings says to leave about 1.5 inches per side of a run for filler strips, and that a standard countertop overhang is about 1.5 inches past the cabinet face. Because most lines size in 3-inch steps, a wall rarely matches exactly, which is what fillers are for.
Example (our estimate): if your cabinet runs measure 120, 96 and 72 inches, the total is 288 inches, which is 24 linear feet (288 / 12). Many suppliers and cost guides quote by linear foot, so this number is worth writing down.
Turn that into money with turn linear feet into a budget. If you have an island, check walkway clearances around an island before you finalize anything, and if you are ordering flat-packed cabinets, read about ordering ready-to-assemble cabinets.
Where the guides differ
| Topic | What the sources say |
|---|---|
| Measuring height along a wall | Wolf Home Products: the same height on every wall; Kitchen Cabinet Kings: three heights, use the smallest; Riley & Higgs: baseboard and countertop height |
| Number of ceiling readings | Three, three to four, or several, depending on the guide |
| Precision | RTA Cabinet Store: nearest ⅛ inch; Kitchen Cabinet Kings: to the nearest 1/16 inch for a door-replacement frame; Masterbrand gives no figure |
| Square check | 3-4-5 (Masterbrand); 6-8-10 for larger rooms (RTA Cabinet Store); diagonals (Kitchen Cabinet Kings) |
Guides on how to measure a kitchen for cabinets disagree on small points. When they differ, take the more careful option, because a few extra minutes cost less than a wrong order.
Common mistakes and mental traps
- Measuring once. Riley & Higgs lists this first. Measure twice.
- Measuring at one height. Kitchen Cabinet Kings says walls are rarely plumb.
- Forgetting trim. Trim can take 1 to 2 inches, per Riley & Higgs.
- Assuming appliance sizes. Verify them. Swapping a refrigerator can change the layout.
- Rounding. “About 96 inches” is how a 95½-inch wall becomes a fit problem. Write the exact number.
- Timeline optimism. You will be tempted to measure quickly. Do it carefully once, then you will not need to redo it.
- The “while we’re at it” upgrade. Changing the refrigerator or range mid-plan changes everything. Decide your appliances first.
- Sunk cost. If you notice an error after ordering, report it right away, not after you have built around it.
Printable checklist
- ☐Gather tape, graph paper, pencil, level, step stool and phone
- ☐Sketch the room and label each wall
- ☐Measure every wall in inches, to the nearest ⅛ inch, twice
- ☐Measure openings including trim
- ☐Take three or more ceiling heights and note soffits
- ☐Record window sill height and trim depth
- ☐Check corners with 3-4-5 and diagonals
- ☐Mark vents, pipes, outlets, switches and light fixtures with heights
- ☐Record every appliance size, center point and model number
- ☐Note door swings and clearances
- ☐Photograph each wall
- ☐Add up linear feet
- ☐Have someone else check your numbers

Frequently asked questions
What do I need to know before I measure a kitchen for cabinets?
A 25-foot steel tape, graph paper, a pencil, a level and a phone for photos, per Kitchen Cabinet Kings. A helper makes it easier.
How do I check if my kitchen walls are square?
Use the 3-4-5 method: mark 3 feet on one wall and 4 feet on the other, and the diagonal should be 5 feet, per Masterbrand. For larger rooms use 6-8-10.
How accurate do I need to be?
RTA Cabinet Store says to measure to the nearest ⅛ inch. Write exact numbers and double check them.
Do I measure windows with or without trim?
With trim. Wolf Home Products says the trim is part of the opening, so measure from outer edge to outer edge.
What if my walls are not square?
That is common. Masterbrand says a good installer can work around it with shims. Fillers also help. Then send your measurements for a second look if you are unsure.
How many ceiling heights should I take?
At least three, per Wolf Home Products, since ceiling heights can vary in one room.
Final thoughts
Knowing how to measure a kitchen for cabinets comes down to slowing down: sketch first, measure twice, write exact numbers and mark everything that will not move. It is dull work, but it is the cheapest part of the project to get right.
When you are done, hand your sketch and photos to whoever is planning your layout, and ask them to check it against yours. A second pair of eyes catches what yours have stopped seeing.
Ready to plan your cabinets?
Browse available styles, then ask for help turning your measurements into a layout.


