

Most painted cabinets fail the same way: the paint peels at the edges around the handles, where hands and grease hit hardest. If you want to know how to paint kitchen cabinets so the finish lasts, the paint you buy matters less than what you do before you open the can.
This guide walks through the whole job in order: safety checks, cleaning, sanding, primer, paint, drying and cure time, plus what it costs. Where the sources disagree, I show both sides instead of picking one number.
Go in with a realistic mindset. This is a slow project, and most of the time goes to prep and waiting, not painting.
Quick answer
Test for lead first if your home was built before 1978. Then remove the doors, degrease, sand lightly, prime, and apply two thin coats of a cabinet-grade paint, letting each coat dry fully. Lowe’s puts the job at 3 to 5 days including drying, and a retailer guide says paint can take up to 30 days to fully cure. Professional quotes in the sources run from about $425 to $10,000, and DIY materials from about $200 to $600. Figures checked November 2026.
Before you start: is painting right for your cabinets?
Painting works best when the boxes and doors are solid and you only dislike the color. Lowe’s says that if the existing paint is in good shape you can paint over it, and otherwise you need to strip it first. Laminate and glossy surfaces need extra care, covered in the primer section.
Be honest about the time. One guide estimates a beginner with an inexperienced helper could spend 50 or more hours stripping, repairing and repainting, and could be without doors and drawer fronts for two weeks or more. Another says 3 to 5 days, though its header lists 1 to 2 weeks. The gap comes from experience, cabinet count and drying time, so plan for the longer end.
If the cabinets are damaged or poorly built, paint will not fix that. Compare the options first: for new cabinets, see what new cabinets cost compared with painting.

Lead safety in older homes
If your home was built before 1978, test before you sand. Angi says to treat pre-1978 homes as possibly containing lead, and that renovated homes can still hide original lead paint under newer layers. It suggests swab test kits from a hardware store or a professional tester. Fine Homebuilding says to test several spots and to use an accredited lab for extensive work.
- Avoid dry sanding without dust control. Fine Homebuilding says to attach sanders to a HEPA vacuum, mist surfaces and avoid heat guns.
- Protect yourself. The same guide recommends a P100 or N100 HEPA respirator, goggles, gloves and disposable coveralls.
- Clean up wet. Vacuum with a true HEPA vacuum and wet-wipe surfaces. Angi says to use plastic, not canvas, drop cloths.
- Know the rules. Fine Homebuilding says the EPA lead renovation rule requires certified firms in pre-1978 homes, and that homeowners working on their own homes are exempt, but lead dust is still harmful to everyone. For significant lead work, Angi advises hiring an EPA lead-safe certified contractor.
General information, not advice
This is general information, not legal or health advice. I could not reach the EPA’s own pages while researching, so check current EPA lead-safe guidance and your state’s rules before you start.
Tools and materials
The Lowe’s guide lists these basics, and I have grouped them by job.
| Job | What you need |
|---|---|
| Removal and labeling | Screwdriver or drill, painter’s tape for numbering, bags or cups for hardware |
| Cleaning and repair | TSP or similar degreaser, sponges, cloths, wood filler, putty knife |
| Sanding | Sandpaper, shop vacuum, tack cloth |
| Painting | Primer, cabinet-grade paint, foam rollers, brushes, trays, painter’s tripods or a drying rack |
| Protection | Drop cloths, tape, dust mask or respirator, eye protection, gloves |
Optional: an orbital sander (about $40 to $150, per Angi) and a paint sprayer. The MasterClass guide also suggests a drying rack made from two sawhorses and two parallel boards.
Prep: remove, clean and sand
For how to paint kitchen cabinets that hold up, prep is the step that matters most. Prep takes the longest and decides how long the finish lasts. Take it one step at a time.
- Empty and remove. Take out the contents, doors, drawers and hardware. Lowe’s says to label each door and drawer with painter’s tape and to bag and label the hardware.
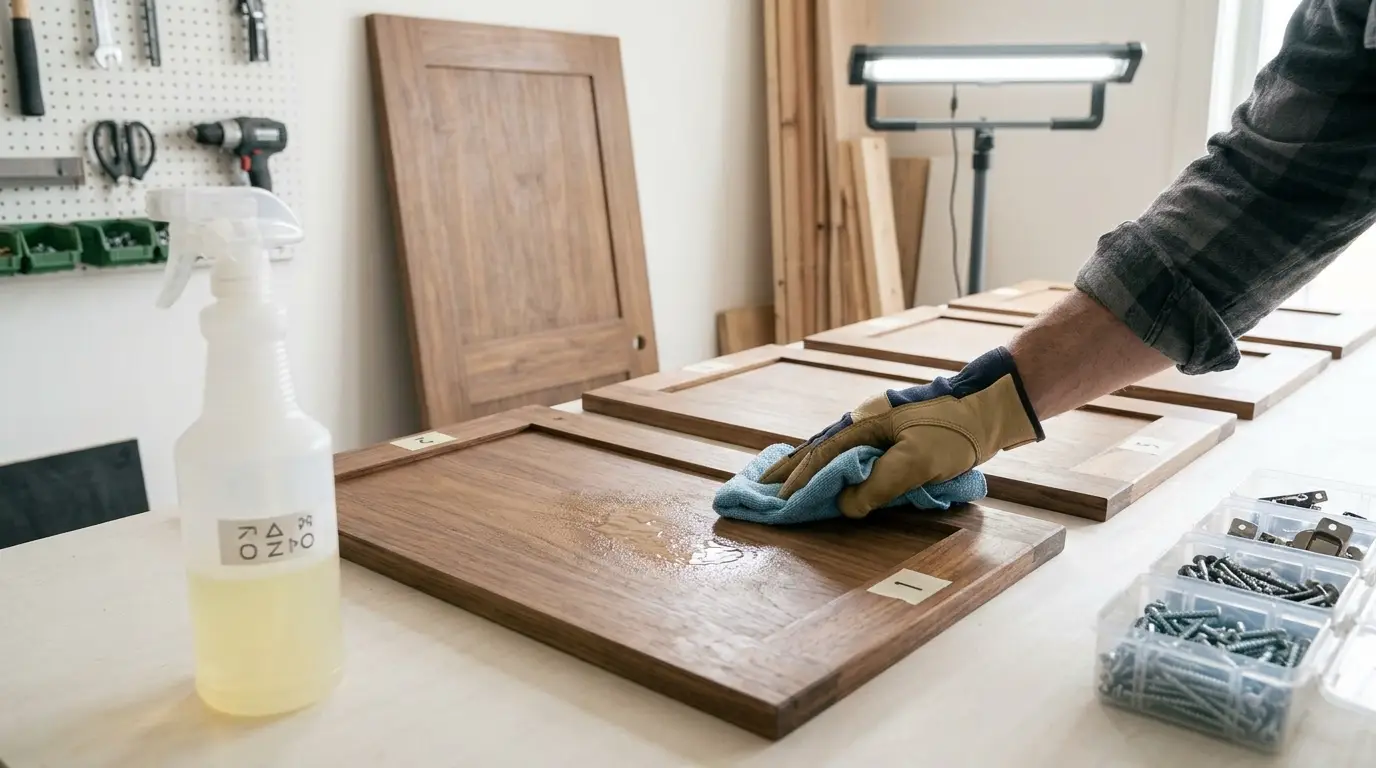
- Degrease. Lowe’s says to clean with a TSP cleaner. A retailer guide, Paint Outlets, wipes twice with frequently changed rags and calls skipping this step “the number one cause of paint failure on cabinet jobs.” That is a retailer’s claim, but the logic is sound: paint does not stick to grease.
- Repair. Fill dents and holes with wood filler and let it dry. Skip holes you plan to reuse for hardware.
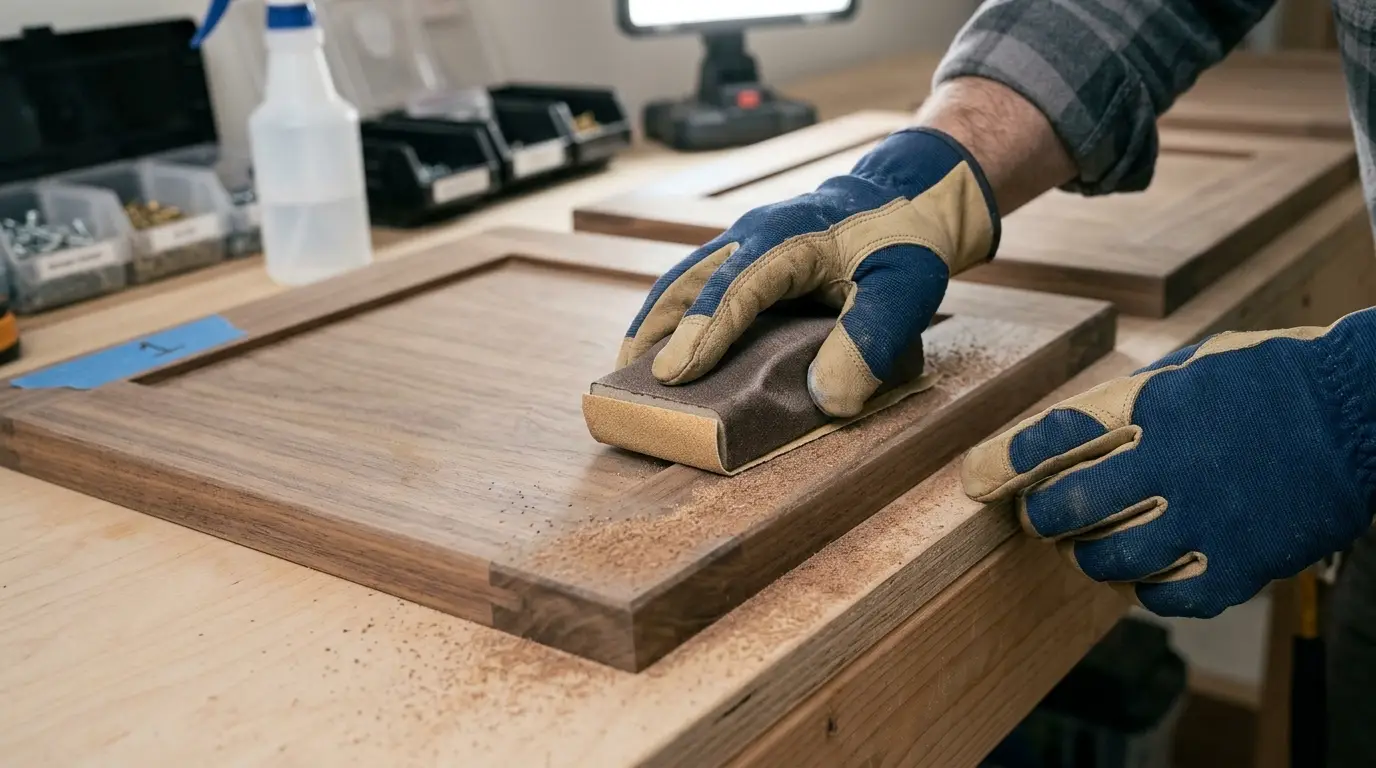
- Sand lightly. Grits differ by source: MasterClass says 100-grit for worn cabinets and 120-grit for new ones, while Paint Outlets says 150-grit to scuff before priming. Lowe’s says medium grit and only a light once-over on laminate.
- Remove dust. Vacuum, then wipe with a tack cloth until the surfaces are dust-free.
| Sanding detail | What the sources say |
|---|---|
| First sanding grit | 100 to 120 (MasterClass); 150 (Paint Outlets); “medium” with no number (Lowe’s) |
| Between coats | Paint Outlets says a light 220-grit scuff after primer cures and between topcoats; MasterClass says sand again after the primer dries |
| How to handle it | Check the primer and paint labels. If they conflict with a guide, follow the label. |
If you plan to swap pulls or knobs, now is the time to fill old holes and decide on new ones. Here is how to pick hardware that fits the finish you are about to apply.
Choosing a primer
Bob Vila sorts primers into four types. Which one is right depends on your surface and how much odor and cleanup you will tolerate.
| Primer type | Best for | Trade-offs (per Bob Vila) |
|---|---|---|
| Water-based acrylic or latex | DIYers | Easy and quick-drying, soap-and-water cleanup, but the finish may be less durable |
| Oil-based | Pros wanting high performance and grain filling | Drying takes much longer; needs respiratory protection, solvents and proper disposal |
| Shellac-based | Spraying and strong stain blocking (Zinsser B-I-N) | Thin, so it does not brush well; contains alcohol, so ventilate |
| Water-based bonding or hybrid | Glossy surfaces and laminate | Stain blocking varies by product; one hybrid needs 3 to 4 hours to dry |
Use a stain-blocking primer on raw wood. Paint Outlets says it helps with tannin bleed, and MasterClass calls it recommended but optional. Recoat times in the Bob Vila round-up range from about 45 minutes for shellac to 1 hour for several water-based products, so read your can.
Choosing a durable paint
Wall paint is not the answer. Lowe’s says to use cabinet paint or a high-quality acrylic latex, and to avoid vinyl, with semi-gloss or satin typical for kitchens. RealHomes quotes a painter recommending enamel because it is harder, dries smoother and self-levels, so brush strokes show less.
One retailer guide, Paint Outlets, recommends a waterborne alkyd in satin or semi-gloss, applied in two thin coats. Because it sells its own products, compare that advice with the manufacturer’s label. On durability, Fixr says urethane trim enamel “won’t chip, scratch, or ding easily,” while a cabinet coat is “not quite as durable.”
A simple rule: pick a product made for cabinets or trim, in satin or semi-gloss, and buy the matching primer the label names.
Applying primer and paint
This is the part of how to paint kitchen cabinets that most people picture, and it is the shortest.
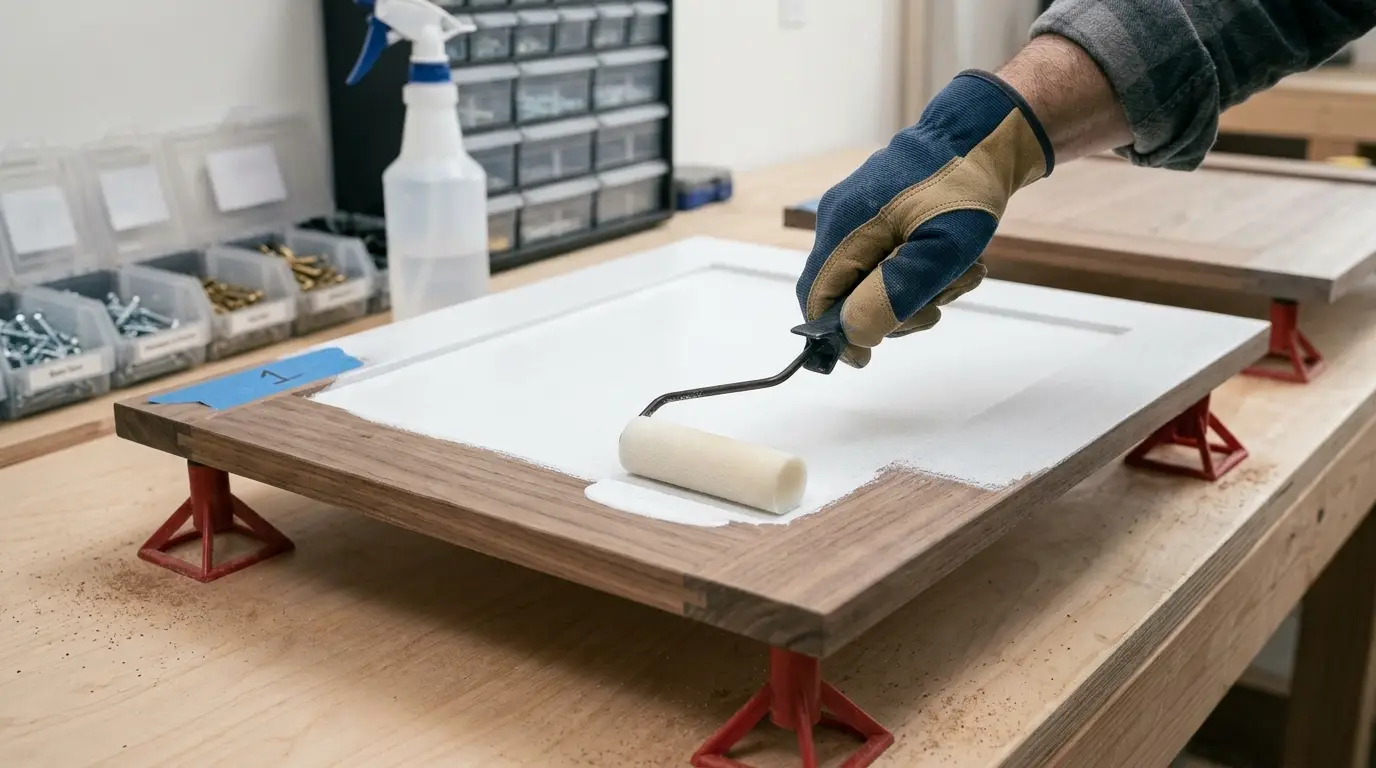
Prime and paint the backs first, then the fronts, letting each side dry before you flip, as Lowe’s describes. Paint the frames first, then large areas, then “lay off” with a nearly dry roller or brush.
- Primer coats. MasterClass says two coats. Paint Outlets says one is typical but recommends two.
- Paint coats. Two thin coats beat one thick coat, which tends to drip and stay soft.
- Brush and roller. Paint Outlets suggests an angled sash brush for edges and a high-density foam roller for flat panels, with long even strokes. Do not brush back into a half-set film.
- Sprayer. The same guide says an HVLP or airless sprayer gives the most uniform finish, but needs heavy masking and good ventilation.
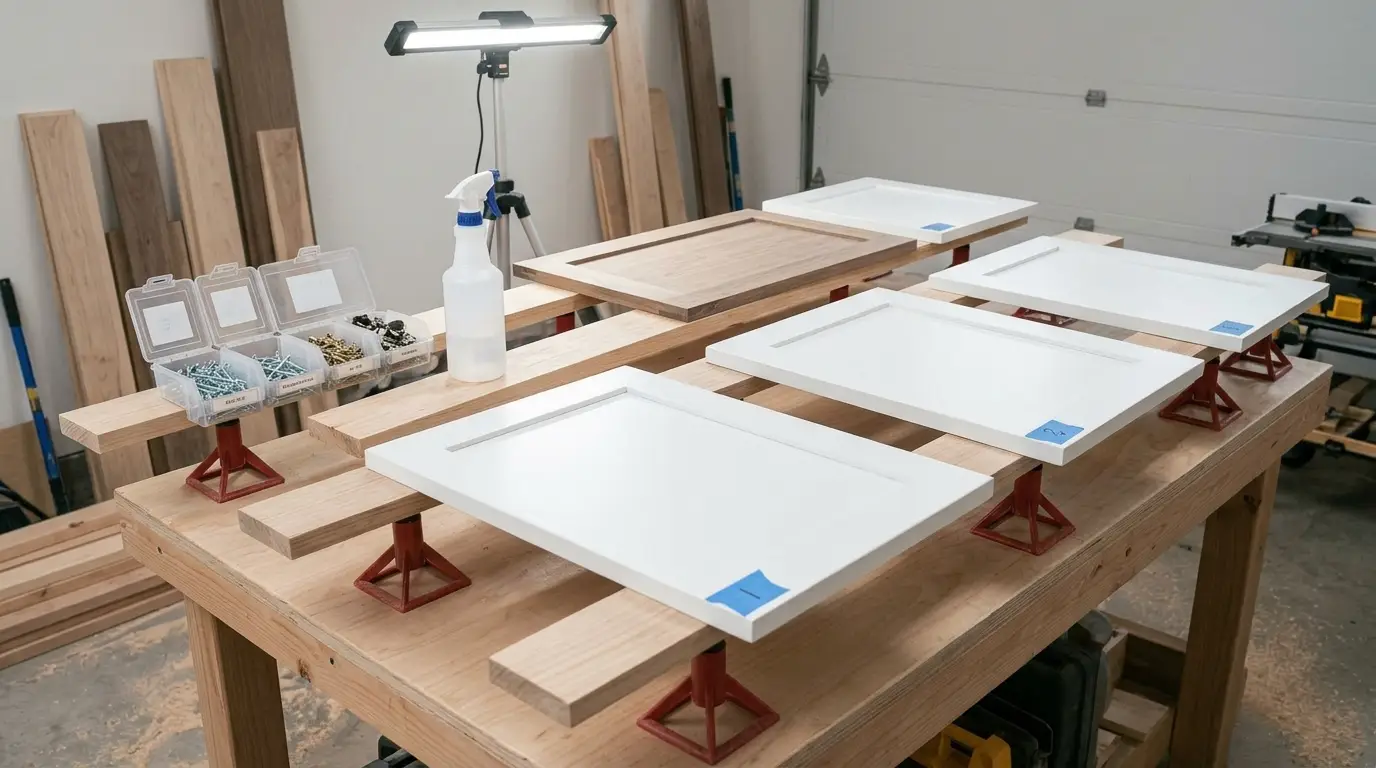
Work in a ventilated space such as a garage or a room with open windows. For conditions, a retailer guide says to avoid painting below 50°F, above 85°F, or in humidity above 70%, so check your paint label for its own limits.
Drying, curing and reinstalling
Dry to the touch is not cured. Paint feels dry in hours, but it hardens for much longer.
| Stage | What the sources say |
|---|---|
| Primer dry time | “A few hours” per Lowe’s; about 45 minutes to 1 hour recoat for several products per Bob Vila |
| Between paint coats | Follow the can, per Lowe’s; about 16 hours for one waterborne alkyd per Paint Outlets |
| Before handling | At least 24 hours per Paint Outlets |
| Before reinstalling | Several days per Paint Outlets; wait until fully cured per Lowe’s |
| Full cure | Up to 30 days per Paint Outlets |
During the cure, go easy: skip hard scrubbing, avoid stacking heavy items on shelves, and use felt pads. Reinstall by your labels. If doors need re-aligning, our guide to hanging and leveling cabinets covers the basics.
How much does it cost?
Cost ranges vary a lot, because kitchens vary a lot. Here is what four sources report. Treat them as ranges, not quotes.
| Source | Professional painting | DIY |
|---|---|---|
| Fixr | $30 to $70 per linear foot; $75 to $150 per cabinet | About $400 in materials |
| Angi | Typical $425 to $1,459, average $934 | $200 to $600 for paint and supplies |
| Thumbtack | $1,390 to $3,353, most about $2,164 | No DIY range given |
| RealHomes | About $5,000 for a medium kitchen, range $3,000 to $10,000 | Primer $30 to $50 and paint $50 to $80 per gallon |
The ranges disagree, so get at least three local quotes. Thumbtack also notes prep can take longer than the painting itself.
Example (our estimate): using RealHomes’ prices and its guidance of 1 gallon of primer and 1 to 3 gallons of color, paint and primer alone would run about $80 to $290 ($30 + $50 at the low end, $50 + 3 x $80 at the high end). Tape, sandpaper, rollers and cleaner are extra.
Painting is the budget route, not the only one. For comparison, see the style and upkeep trade-offs of white and wood before choosing a color, or look at door styles and finishes if replacement is on the table.
Common mistakes and mental traps
- Skipping the degrease. Grease near the stove and handles is where peeling starts.
- Rushing the cure. Paint that feels dry is still soft. Hanging doors early can leave marks and stuck edges.
- Timeline optimism. If you think it is a weekend job, add a few days. Drying time is the part you cannot speed up.
- The “while we’re at it” upgrade. Once the doors are off, it is tempting to add new hardware, new hinges and a new layout. Decide the budget first.
- Sunk cost. If the boxes are damaged after prep, stopping can be cheaper than finishing a finish that will not last.
- Buying paint before testing color. Test a swatch on one door in your own light first.
Checklist
- ☐Pre-1978 home: test for lead before sanding
- ☐Number every door and drawer, and bag the hardware
- ☐Degrease, repair holes and sand lightly
- ☐Choose a primer for your surface and a cabinet-grade paint
- ☐Test your color on one door
- ☐Apply two thin coats of paint, letting each dry fully
- ☐Wait several days before reinstalling and treat gently for about 30 days
- ☐Get three quotes if you decide to hire a pro
Frequently asked questions
Do I have to sand kitchen cabinets before painting?
Most guides say yes, at least a light scuff. MasterClass says 100 to 120 grit and Paint Outlets says 150 grit. Some primers say they need no sanding, so read the label.
How long does it take to paint kitchen cabinets?
Lowe’s says 3 to 5 days including drying, while Inch Calculator says a beginner could need 50 or more hours and two weeks without doors. Plan for the longer end.
What kind of paint is best for kitchen cabinets?
Use a cabinet or trim paint, in satin or semi-gloss, according to Lowe’s. Enamel is harder and self-levels, per RealHomes. Avoid regular wall paint.
Can I paint over laminate cabinets?
Lowe’s says laminate needs a bonding primer and only a light sanding. Bob Vila lists bonding and hybrid primers for glossy surfaces and laminate.
How long before I can use my cabinets?
A retailer guide, Paint Outlets, says to avoid handling for 24 hours, wait several days to reinstall and expect up to 30 days to fully cure. For ordering questions, find answers to ordering questions.
Is it safe to sand old cabinet paint?
Not without testing if the home predates 1978. Use lead-safe methods, per Fine Homebuilding, and consider a certified contractor. ask for help planning your cabinet refresh if you are weighing painting against replacing.
Final thoughts
Knowing how to paint kitchen cabinets well mostly means knowing what to do before and after the paint goes on. Painted cabinets last when the prep is careful and the schedule is patient. Degrease, sand lightly, prime for your surface, use a cabinet-grade paint, and give it days to dry and weeks to cure.
If halfway through you decide the cabinets are not worth the effort, that is a fair call. Replacing them can be the better use of the same time.
Thinking about new cabinets instead?
See available styles, or ask for help comparing painting with replacement.


