
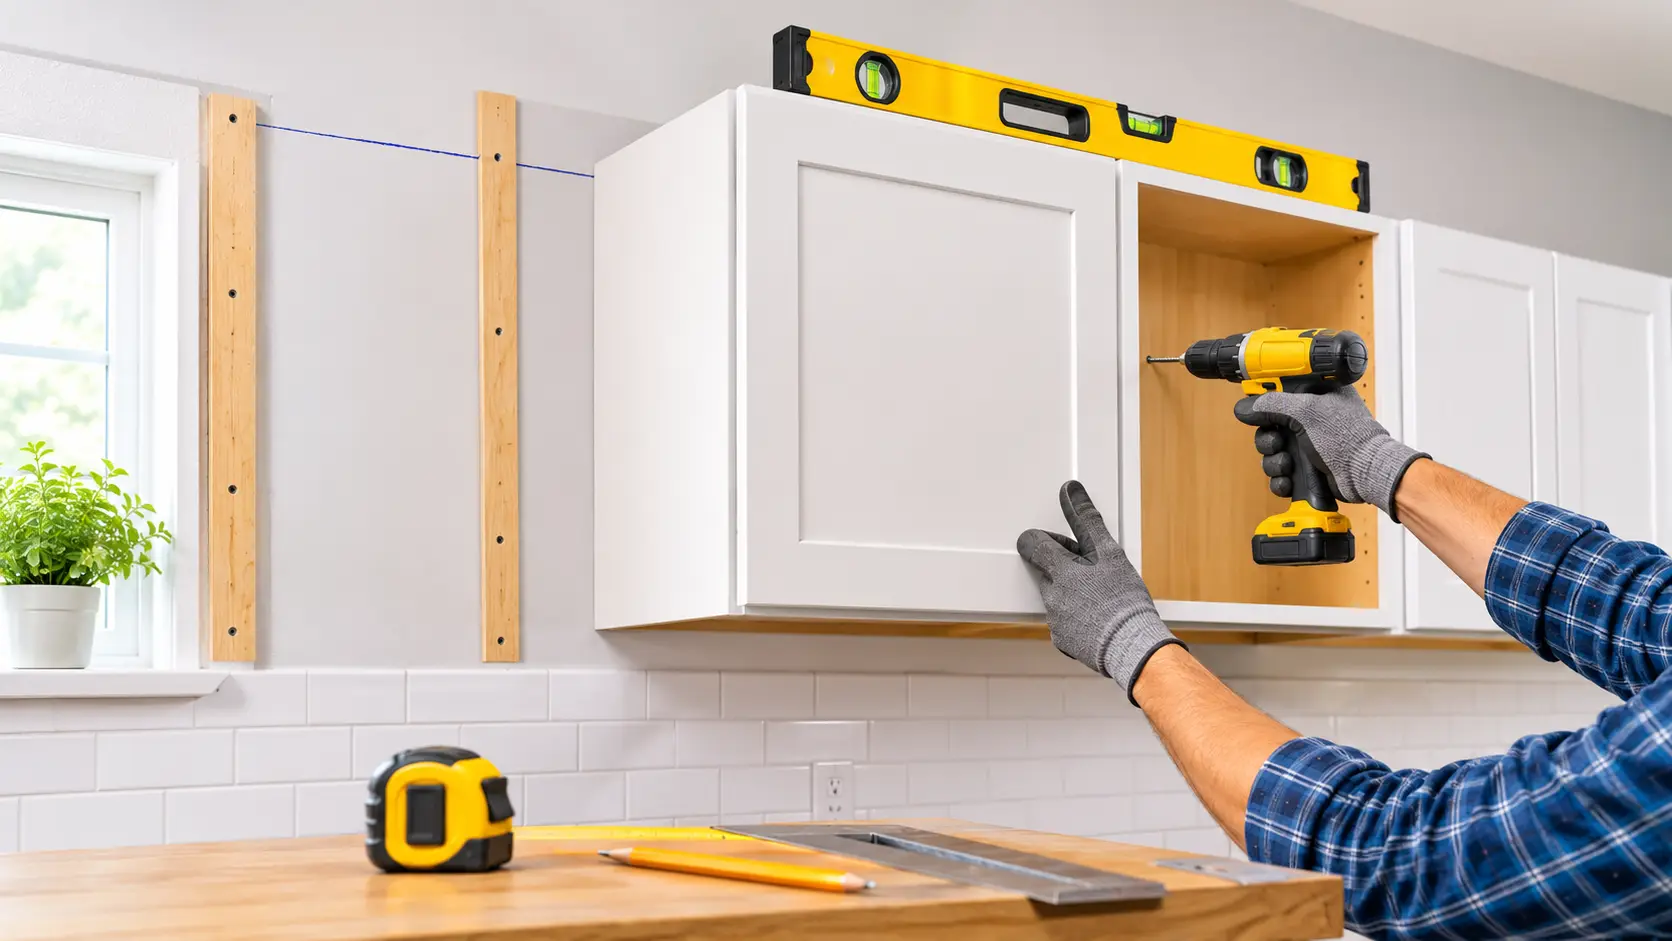
Wall cabinets are the part of a kitchen install that scares people most, and for good reason. They hang in the air, they are heavy once they are loaded, and a crooked one is visible from across the room. The good news is that learning how to hang wall cabinets is mostly about preparation, and the hanging itself goes quickly once the lines are right.
This guide covers the lines to mark, how to find studs, why a ledger board helps, and how to clamp, level and shim each box. A small first step: before you touch a tool, read your cabinet maker’s instructions and clear the wall.
It focuses on upper cabinets only. For the whole project, including base cabinets, see our base cabinets and the rest of the install.
Quick answer
Mark a level height line, locate studs, screw a temporary ledger to the studs along that line, rest the corner cabinet on it, and fasten through the cabinet back into studs. Clamp neighbors together, check level and plumb, and shim gaps before the final tightening. Guides give 54 inches from the floor or 18 to 19.5 inches above the base line, and screw lengths from 2 to 3 inches, so follow your cabinet maker’s instructions. Details checked November 2026. See Bob Vila, Lowe’s and Home Depot.
Before you start
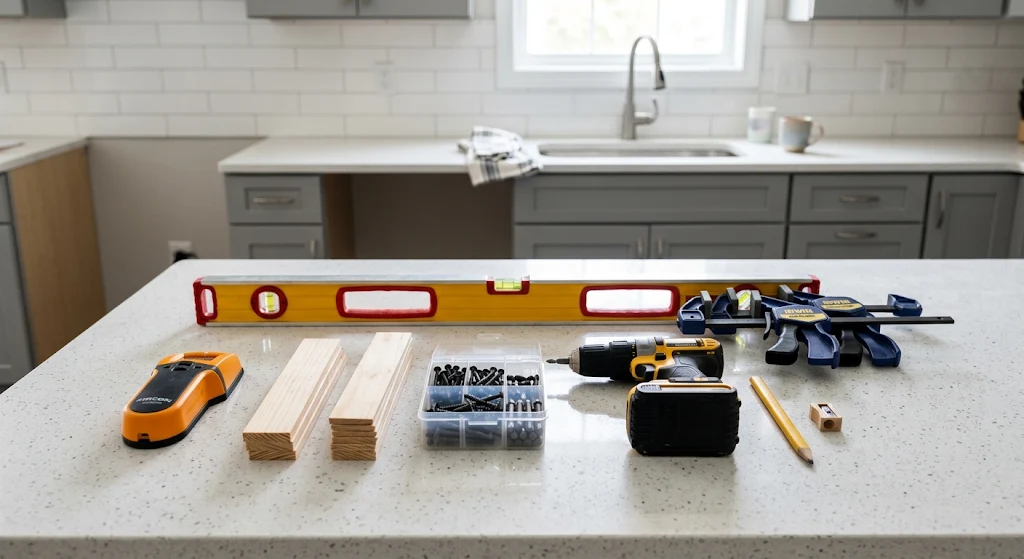
Preparation is where most of the quality comes from. RTA Cabinet Store says to take the doors off before hanging and to tape-label each cabinet and its doors so they match later. Home Depot adds that doors and drawers add weight and can be damaged.
- Have the layout settled. If you are not sure how many boxes you need, count your cabinets before you hang them.
- Check your measurements. Wall lengths and ceiling heights decide what fits, so mark stud and ceiling heights first.
- Assemble flat-packed boxes. If your cabinets arrive in pieces, assemble flat-packed boxes before hanging and let the glue set if your instructions say so.
- Get a helper. Angi says to ask one or two other people to help, and Taskrabbit says to get at least one person. Bob Vila warns that lifting cabinets alone can cause severe injury.
| Tool or material | Why | Source |
|---|---|---|
| Stud finder | Locates studs; mark with a pencil or painter’s tape | Angi, Bob Vila |
| 4-foot level | Checks walls for level and plumb | Bob Vila |
| Ledger board (1×2 or 1×4) | Temporary support and reference line | Kitchen Cabinet Kings, Lowe’s |
| Clamps | Hold neighboring cabinets flush; 8 inch opening or more suggested | RTA Cabinet Store |
| Shims | Fill gaps between box and wall | Bob Vila, Home Depot |
| Cabinet screws | Length depends on the source and your cabinet | See the table below |
| Gloves, safety glasses, steel-toe shoes | Protection while lifting and drilling | Bob Vila |
Step 1: Mark the height lines
Every guide agrees you should work from a level line, and they set it in slightly different ways. Bob Vila says upper cabinets are usually hung 18 inches above the countertop, which is about 54 inches from the floor. Bob Vila describes marking the base line at 34.5 inches above the highest point on the floor, then 19.5 inches above that for the bottoms of the uppers. Angi also uses 19½ inches above the base cabinet reference line.
| Reference | Height for the bottom of the upper cabinets | Source |
|---|---|---|
| From the floor | 54 in | Bob Vila, Lowe’s, Kitchen Cabinet Kings |
| From the countertop | 18 in | Bob Vila |
| From the base cabinet line | 19.5 in | Bob Vila, Angi |
| Reduced reach | 48 in from the floor (14 in above the counter) | Bob Vila |
| Above an electric range | 66 in from the floor | Bob Vila |
| Above a gas range | 72 in from the floor | Bob Vila |
Example (our estimate): a 34.5 inch base line plus 19.5 inches gives 54 inches, which matches the floor figure. In a room with an 8 foot (96 inch) ceiling, the space above that line is 42 inches, so a 30 inch cabinet leaves 12 inches for trim, which fits the Bob Vila ceiling guidance below.
Bob Vila says 30 inch cabinets work with trim up to 12 inches on an 8 foot ceiling, 36 inch cabinets work with trim up to 6 inches, and a 42 inch cabinet would touch the ceiling. On a 9 foot ceiling it says 42 inch cabinets are preferable. Taskrabbit suggests assuming a high spot on the floor and a low spot on the ceiling, and using those as your reference points.
Step 2: Find and mark the studs
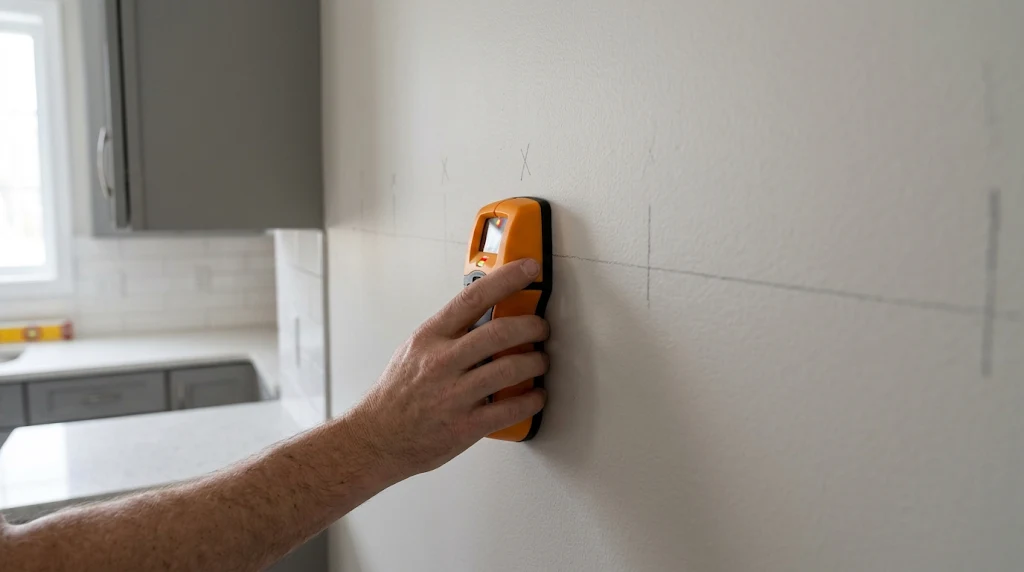
Studs are what hold the weight, so this step is not optional. Angi says to use a stud finder along each wall and mark studs with a pencil or painter’s tape. Bob Vila says to draw plumb lines at the studs and note any appliance or fixture locations.
- Transfer stud locations to the back of each cabinet. RTA Cabinet Store says to mark them on the hanging strips at the top and bottom.
- Kitchen Cabinet Kings says to drill the cabinet back at the top, middle and bottom rails, and Lowe’s says top and bottom holes should sit about 3/4 inch from the cabinet edge.
- Check for wires and pipes first. Taskrabbit lists drilling without checking for electrical wires or water pipes as a common mistake.
- If a cabinet only reaches one stud, Angi says to use a toggle bolt as the first fastener. Bob Vila describes a metal plate bridging the gap. Ask your supplier what suits your wall.
Step 3: Fasten a ledger
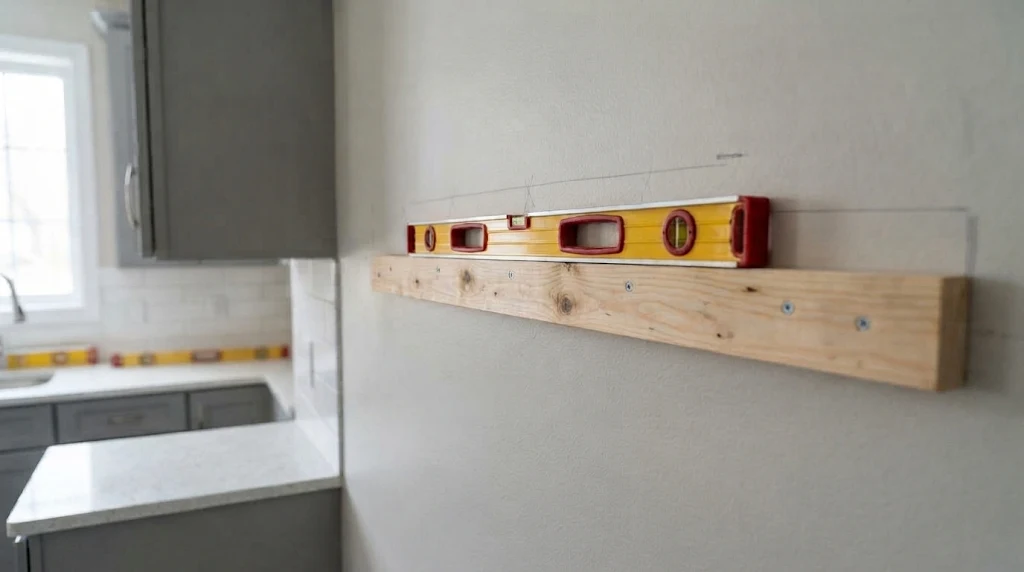
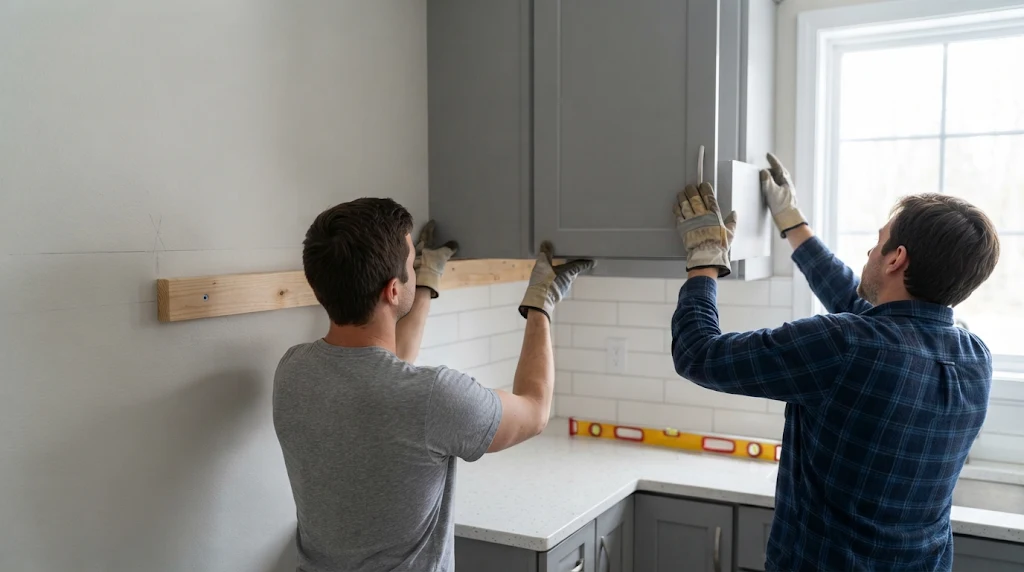
A ledger is a temporary board that carries the weight while you work. Lowe’s calls it a board that helps support the cabinetry, and says to level it so the cabinets are installed accurately. Taskrabbit and Angi use a 1×4, Kitchen Cabinet Kings and RTA Cabinet Store use a 1×2, and Bob Vila uses a cleat for every cabinet.
The simplest way to hang wall cabinets without strain is to screw the ledger into the studs with its top edge on your cabinet line. That way each cabinet can simply rest on it while you fasten it. It is the single easiest way to avoid holding a heavy box at head height with one hand.
If you are working alone, Angi suggests installing base cabinets first and building a temporary support on them. Even so, a helper makes the next two steps far safer.
Step 4: Hang the first cabinet
The first rule of how to hang wall cabinets is where to begin. Kitchen Cabinet Kings, RTA Cabinet Store and Taskrabbit all say to start at the corner and work outward, because the corner cabinet guides the rest of the run.
- Lift it onto the ledger. Rest the cabinet on the ledger with a helper steadying it.
- Pre-drill. RTA Cabinet Store says to pre-drill each hole with a 1/8 inch bit and to drive the top screws first, then the bottom.
- Drive the first screws. Do not fully tighten yet. Taskrabbit says you do not need to tighten fully until you confirm the cabinet hangs correctly.
- Check level. Home Depot says to check level front to back as well as side to side.
- Then fasten the rest. Bob Vila describes two screws at the top and two at the bottom, and Angi calls for four fasteners per cabinet.
Lowe’s adds a useful warning: do not overtighten the screws. Tighten just enough to hold the cabinet in place.
Step 5: Clamp, level and join
This is where how to hang wall cabinets turns into how to line them up: a row of boxes becomes one clean line. RTA Cabinet Store says to hold each later cabinet with clamps. Lowe’s says to line up the faces so they are even at the bottom and across the front, then to use clamps to hold cabinets together before driving screws into the back.
- Join at the face frames. Kitchen Cabinet Kings says to use 2½ inch screws through the face frame on framed cabinets, and 1¼ or 1 inch screws on frameless so you do not damage the boxes.
- Shim at the stud lines. Home Depot says to slip shims between the cabinet and wall at the stud lines. Lowe’s says that on a bowed wall, shims behind the screw locations stop the cabinet back from bowing when screws go in.
- Recheck every cabinet. Angi says to keep checking and double-checking for level, plumb and overall appearance.
- Trim shims last. Home Depot says to trim visible shims flush with a utility knife.
Gaps between boxes and uneven walls are normal, and fillers cover what shims cannot. If you want to know what happens when the doors go back on, see how to adjust hinges once the box is on the wall.
Step 6: Tighten and finish
Once the whole run is level and joined, drive in the rear screws and remove the clamps, per Lowe’s. Kitchen Cabinet Kings says to tighten all screws, remove the ledger and patch the holes. Taskrabbit says to add doors only after the rear screws are tight, and to check that drawers slide smoothly.
Handles come last. See how to add pulls after the boxes are up.
Safety and when to call a pro
General information, not advice
This guide shares general information on hanging cabinets. It is not structural, electrical or plumbing advice. Wall construction, cabinet weight and fasteners vary, so follow your cabinet maker’s instructions and local code. If your wall has no accessible studs, is plaster, masonry or has pipes and wiring nearby, or if you are unsure, hire a qualified installer.
Angi notes that DIY installation has a learning curve and that you will likely make small errors, and suggests a local cabinet contractor can save a weekend of effort. If your wall is awkward, you can also ask for help with a tricky wall before you start.
Where the guides differ
| Topic | What the sources say |
|---|---|
| Screw length into studs | 2 in (Bob Vila); 2½ in (Home Depot, RTA Cabinet Store); 3 in (Kitchen Cabinet Kings); not specified (Lowe’s, Angi, Taskrabbit) |
| Ledger board | 1×2 (Kitchen Cabinet Kings, RTA Cabinet Store); 1×4 (Lowe’s, Angi, Taskrabbit); a cleat per cabinet (Bob Vila) |
| Height line | 54 in from the floor, or 18 to 19.5 in above the base line, depending on the guide |
| Shims on wall cabinets | Recommended by Bob Vila, Home Depot and Lowe’s; Angi mentions shims only for base cabinets |
Because screw length varies, treat the numbers as a range and use what your cabinet maker specifies. The right length depends on your cabinet back and wall thickness, which no guide can know.
Common mistakes and mental traps
- Skipping the level check. Taskrabbit says this causes misalignment and gaps.
- Skipping the stud finder. Cabinets must reach studs or suitable fasteners.
- Measuring once. Taskrabbit says a measurement error can ruin the project.
- Hanging with doors on. Take them off first, per RTA Cabinet Store.
- Timeline optimism. It is tempting to skip the ledger to save an hour. That hour is cheaper than a cabinet slipping while you hold it.
- The “while we’re at it” upgrade. Adding a hood, a microwave shelf or extra tall units mid-install changes the whole line. Decide first.
- Sunk cost. If the first cabinet is crooked, take it down and redo it. Everything else follows it.
Hanging checklist
- ☐Read your cabinet maker’s instructions
- ☐Take off doors and label them
- ☐Mark the base line and upper cabinet line
- ☐Find and mark studs, check for wires and pipes
- ☐Mark stud positions on each cabinet back
- ☐Fasten a level ledger at the cabinet line
- ☐Start at the corner and rest the first cabinet on the ledger
- ☐Pre-drill and drive screws, not fully tight
- ☐Check level front to back and side to side
- ☐Clamp neighbors, shim at stud lines, join the face frames
- ☐Drive rear screws, remove clamps and ledger, patch holes
- ☐Hang doors and test drawers
Frequently asked questions
How high should wall cabinets be hung?
Usually 18 inches above the countertop, or about 54 inches from the floor, per Bob Vila. The height changes over a range, or for reduced reach.
Do I need a ledger board?
Most guides use one. It supports the cabinet while you fasten it and gives you a level reference. Lowe’s calls it a board that helps support the cabinetry.
What screws should I use?
Guides range from 2 to 3 inches into studs, and one says 1¼ inch for joining frameless boxes. Use what your cabinet maker specifies.
Where do I start?
In the corner, per Kitchen Cabinet Kings, RTA Cabinet Store and Taskrabbit.
Do I hang upper or base cabinets first?
Angi and Taskrabbit say upper cabinets normally go first. Alone, Angi suggests bases first with a temporary support.
Can I hang wall cabinets by myself?
It is not recommended. Bob Vila warns of severe injury, and Angi says it is possible but advises help.
Final thoughts
Knowing how to hang wall cabinets comes down to a few habits: a level line, studs found and marked, a ledger that carries the weight, a corner start, and constant level checks. Slow down at the first cabinet and the rest of the run follows it.
When in doubt, check your cabinet maker’s instructions, and bring in a pro for awkward walls. A small hour of planning is cheaper than patching holes.
Ready to plan your cabinets?
Browse available styles, then ask for help turning your measurements into a layout.


